There was several times while designing this I officially reached burn out. It wasn't so much designing as it was my simple impatience.
It was a beautiful Father's Day (cool temps for us). Thus the reason I was being drawn outside instead of having to sit inside to work on this project. If only there was a way to move the entire contents of my art supplies outside so I could sit and work and enjoy the weather.
Regardless, the project is finished. Here's my take on a greenback cutthroat trout. Please keep in mind I know nothing about fish species. One thing's for sure. After creating the Paper Piecing template of this I discovered how beautiful a fish really is when you look at it up close. The colors, texture and patterns.
This is for the fisherman describing the one that got away.

A little crystal effects on those dark splotches, which are actually aged leaf spots from the "French Foliage set. There's nothing I enjoy more than finding an image to use from a stamp set for something other than what it was originally intended.

The pond grass was run through the Manhattan Flower embossing folder several times to give a chaos to the artichoke paper. This makes it easier to look like textured grass instead of the actual flower.

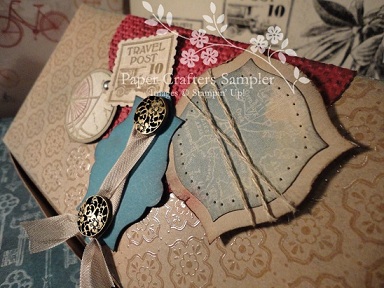
Here's a close-up on the creel. I had to look up exactly what this thing was used for. Did I mention I don't fish?? This is one item that would look good just sitting around the house for decor. Can't beat baskets for decor.

A brief tutorial on how to create your won creel. I started out with the Ornament punch below. You'll want to cut along the dashed lines and toss away the parts with the 'X'x on them.

Turn the top piece upside-down....

Here it is closed. You'll want to run it through your lattice folder for texture and sponge it with brown inks.

The above was my first choice, but then I decided to put to use my new framelits (as an alternative if you don't have the Ornament punch).
Create two Crumb Cake shapes and emboss in lattice folder. Cut the embossed peices as shown below. Create two espresso shapes as well but this time you'll want to toss the inner piece.

Cut around the outer mark left from running your die through the machine.

Cut strips of cardstock and secure to the back so the espresso template and the embossed layer will be secure. Remember, the inner piece is loose and will fall out if not secured to the espresso frame.

Here's teh finished peice. A little toothpick wrapped in linen thread. I removed a section on the grass and taped it directly to the back of the creel. Simply attaching the creel to the front covered the grass. By attaching a section of grass to the back of the creel it allowed for a more balanced flor of the pond grass.

The fish below were created with the Blossom Petal Builder. The inked paper towel was dry from the previous day so I just spritzed it with water to rewet and pushed down the petals into it.


Okie Doke. Now go try this for yourself. Thanks for looking.