Showing posts with label Holiday mantel. Show all posts

November 28, 2009

Holiday Vignette Part II

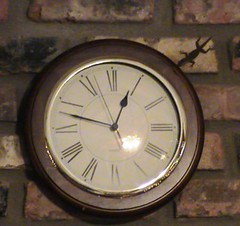
Now, let's move on to the mantel. First you must remove your clock, and making sure the lizard is WELL out of the area. I think he snuck in when I brought in some things from the shed.


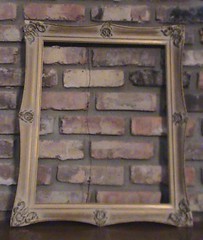
Start with an empty frame like this


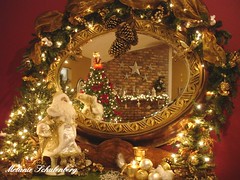
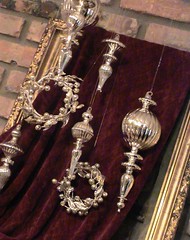
Grab your ornaments and some fabric and soon you can create this:
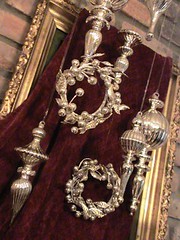


The silver ornaments were purchased last year at Z Gallerie's after Christmas Sale (1/2 off, possibly more). The largest ornament is approximately 8" long.  Pairing the shiny silver against the dark red of the fabric (which is a plush throw by the way) was the main goal.  They look so rich together; I  was determined to make it work.  Here's a view from a different angle.  Silver and Wine decor.

Old frames are a great resource for creating displays. You can find them everywhere, from garage sales to flea markets. The old frame above had a deteriorating canvas which I removed with a sharp blade. You can still see reminants of green canvas on the left side of the frame.  Once your canvas is up, drape your fabric over so it falls gracefully (with a few pins to secure it in place). 

This mantel is the most challenging to decorate. The brick fireplace above is on a skew, making one side of the wall higher than the other. I'll share a photo once everything is completed to show you exactly what I mean.

Here's another great purchase from Z Gallerie:


Isn't she lovely? Mercury glass with those delicious rhinestones on all four sides and an antique brass topper. This ornament is about the size of an orange.

I hope this little tidbit helps get your decorating juices flowing.  I'm taking a small break the rest of the weekend to just look at things to decide what I'm doing next.  Decorating is a progressive venture.  You need to step back and take a look at what you've done to figure out what you need.  Besides, I'm in some serious need of some paper crafting time.  I get withdrawals if I'm away to long from my crafting room.

Until next week, lat-uh gat-uhs!

Melanie

November 27, 2009

Holiday Vignette Part I

Now that you've all had a good nights sleep from that large Thanksgiving meal, it's time to get hopping on those Holiday decorations for your home.

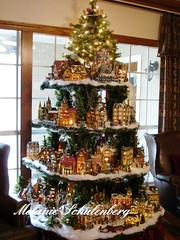
I thought I'd share a bit of what I've been putting together this year in hopes it will give you some ideas for your own holiday decor.  Much of what I have learned is from trial and error and with help from a creative neighbor.  Check out her yearly "Christmas Village".


Each year I try to change my displays.  Then again, there is a comfort in repeating what you've previously done.  Here's a reminder of what my sideboard looked like in 2007:


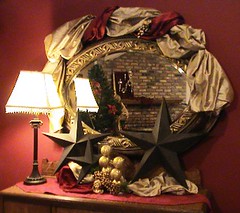
Here it is this year.  I've got a bit more tweaking to do but it's coming along nicely.


I'm into the deep reds and golds this year.  Those large stars were purchased two years ago and the spouse has yet to put them up (permanently).  They tend to float from the house to the shed.  The rustic metal helps tone down the brassy golds. 

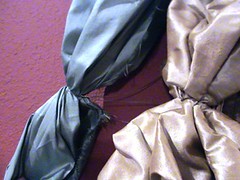
The top of the mirror is covered with silk fabric which I purchased during Hancock's 40% off fabric sale.  I use these fabrics often at the shows I vendor for.  Bulk fabric is one of the most cost effective ways to dress up any vignette you create.  Purchase the colors you love most and you'll soon be using them over and over.  The gold silk and blues you'll see below can be used again for Easter.

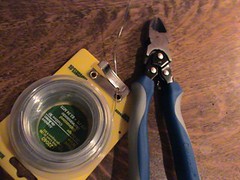
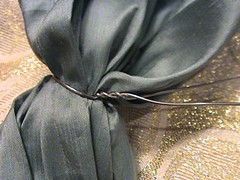
Here's how I attach the fabric to the mirror.  You'll need this list of supplies to get started: your fabric, wire cutters and medium weight wire.

Cut a piece of wire approximately 12" long.


Gather your fabric together where you'd like to start your first puff.  Try to fan fold the fabric near the gather so it creates larger mountains and valleys (it gives more interest).  Twist your wire around the fabric. Avoid twisting the wire to tightly, just enough to hold the fabric in place.  You'll have about 6" of wire left extending past the fabric.


Tuck the wire behind the mirror.  Our mirror is pretty snug against the wall so it helps support the wire.  If you're mirror, frame, etc. is further from your wall, consider using a longer piece of wire so it tucks further down behind the mirror.


Easy huh?  Don't limit yourself to just your mirrors and wall hangings.  Think about adding fabric to your light fixtures or the back of your chairs.  There are many options.  I'd love to see what you come up with.  Who knows, your creative touches could inspire all of us.

The mantel is next.  Wish me luck.  I've fallen off the ladder once already.

Melanie